
“Too often, feeling intimidated becomes our excuse not to be awesome.”
- Scott Stratten
There are various reasons for owning a personal blog, such as, creating a personal online brand, sharing your knowledge, refining your writing skills to name a few.
Building a blog doesn’t have to be difficult, you can start your blog in less than 30-minutes.
In this tutorial, I’ll show you how to set up a free, performant and secured serverless JAMstack blog with Jekyll and Netlify. If you already have a Jekyll site, you can skip straight to 3. Deploying to Netlify.
Disclaimer: The author is not affiliated, associated, authorized, endorsed by, or in any way officially connected with Netlify, Jekyll Themes, or any other products/companies mentioned in this tutorial.
Technology
What is JAMstack?
Fast and secure sites and apps delivered by pre-rendering files and serving them directly from a CDN, removing the requirement to manage or run web servers.
JAMstack stands for JavaScript, APIs, and Markup. It is a way of building applications that delivers better performance, higher security, lower cost of scaling and better developer experience.
What is Jekyll?
Jekyll is a simple static site generator. It takes content written in Markdown or Textile and Liquid templates and produces a completely static website ready to be served by a web server.
What is Netlify?
Netlify is the ideal cloud hosting platform for building serverless sites. It comes with a feature-packed starter plan that includes custom domain feature, HTTPS, continuous deployment, global CDN, and 100 GB bandwidth for free. You can even have add-ons to run lambda functions, authenticate users and many more serverless functionalities.
Prerequisites
This tutorial assumes you have Ruby, RubyGems, Bundler, Node, NPM, and Git installed. Also, you have access to a bash shell.
1. Choosing a Jekyll theme
You can create a new Jekyll project or choose an existing theme. We are going to use Type on Strap theme in this tutorial.
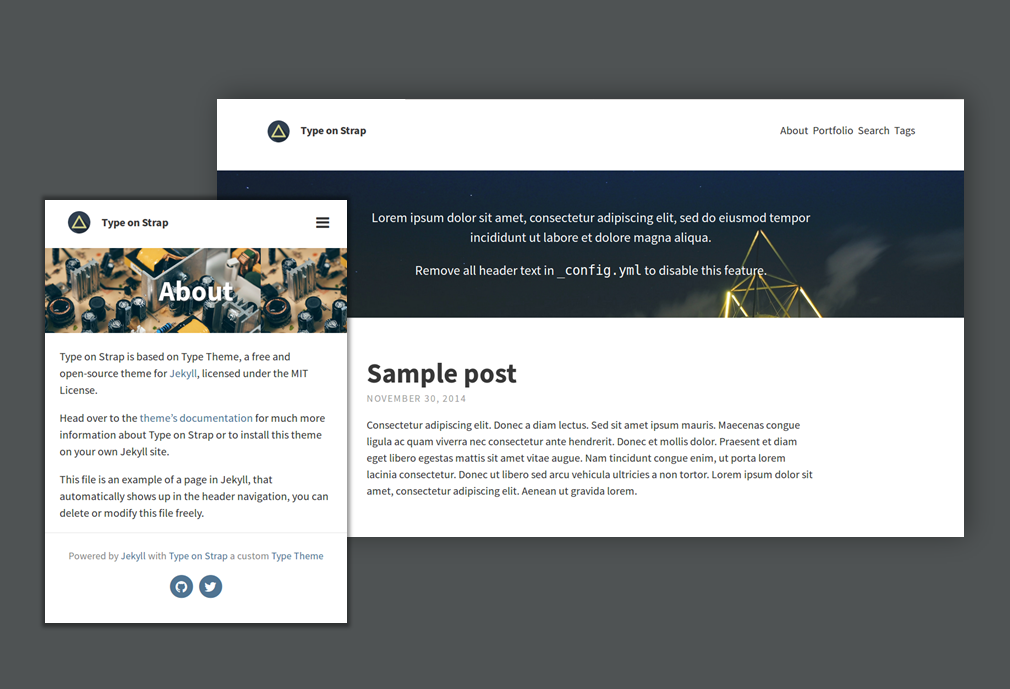
Go ahead and fork the Type on Strap repository or generate one from the template as jamstack-blog.
Open your terminal and clone the repository:
git clone git@github.com:<username>/jamstack-blog.git
If you wish to use a different theme, you can choose one from the sites below:
2. Serving Jekyll blog locally
Now that we have decided what theme to use, let’s get the Jekyll blog running locally.
Install Jekyll
cd jamstack-blog
gem install jekyll
Install the theme’s dependencies
bundle install
Run the Jekyll server
bundle exec jekyll serve
This command generates a static site from the Jekyll theme into _site/ directory and starts an HTTP server to serve the content.
Let’s launch the browser and visit http://127.0.0.1:4000/Type-on-Strap/. That’s it! Pretty easy right? The next step is to deploy it to the cloud.
3. Deploying to Netlify
We’re going to create a new site on Netlify using the CLI.
Install Netlify CLI
npm install netlify-cli -g
Login to Netlify
If you haven’t registered a new Netlify account by this point, go ahead and do so now.
netlify login
Create a new Netlify site
Make sure you are still in the Jekyll theme directory and run the command:
netlify init
You will be prompted to creates a new Netlify site from the current directory or links the directory to an existing Netlify site. Go ahead and choose Create & configure a new site. Enter your team name and site name. Specify jekyll build for the build command. And the directory to deploy is _sites/.
The command triggers Netlify to create a new site and deploys the master branch of your git repository to Netlify. It also tells Netlify to subscribe to your git repository’s git push events. That means whenever you make a change to the master branch, GitHub will notify Netlify to deploy a new build.
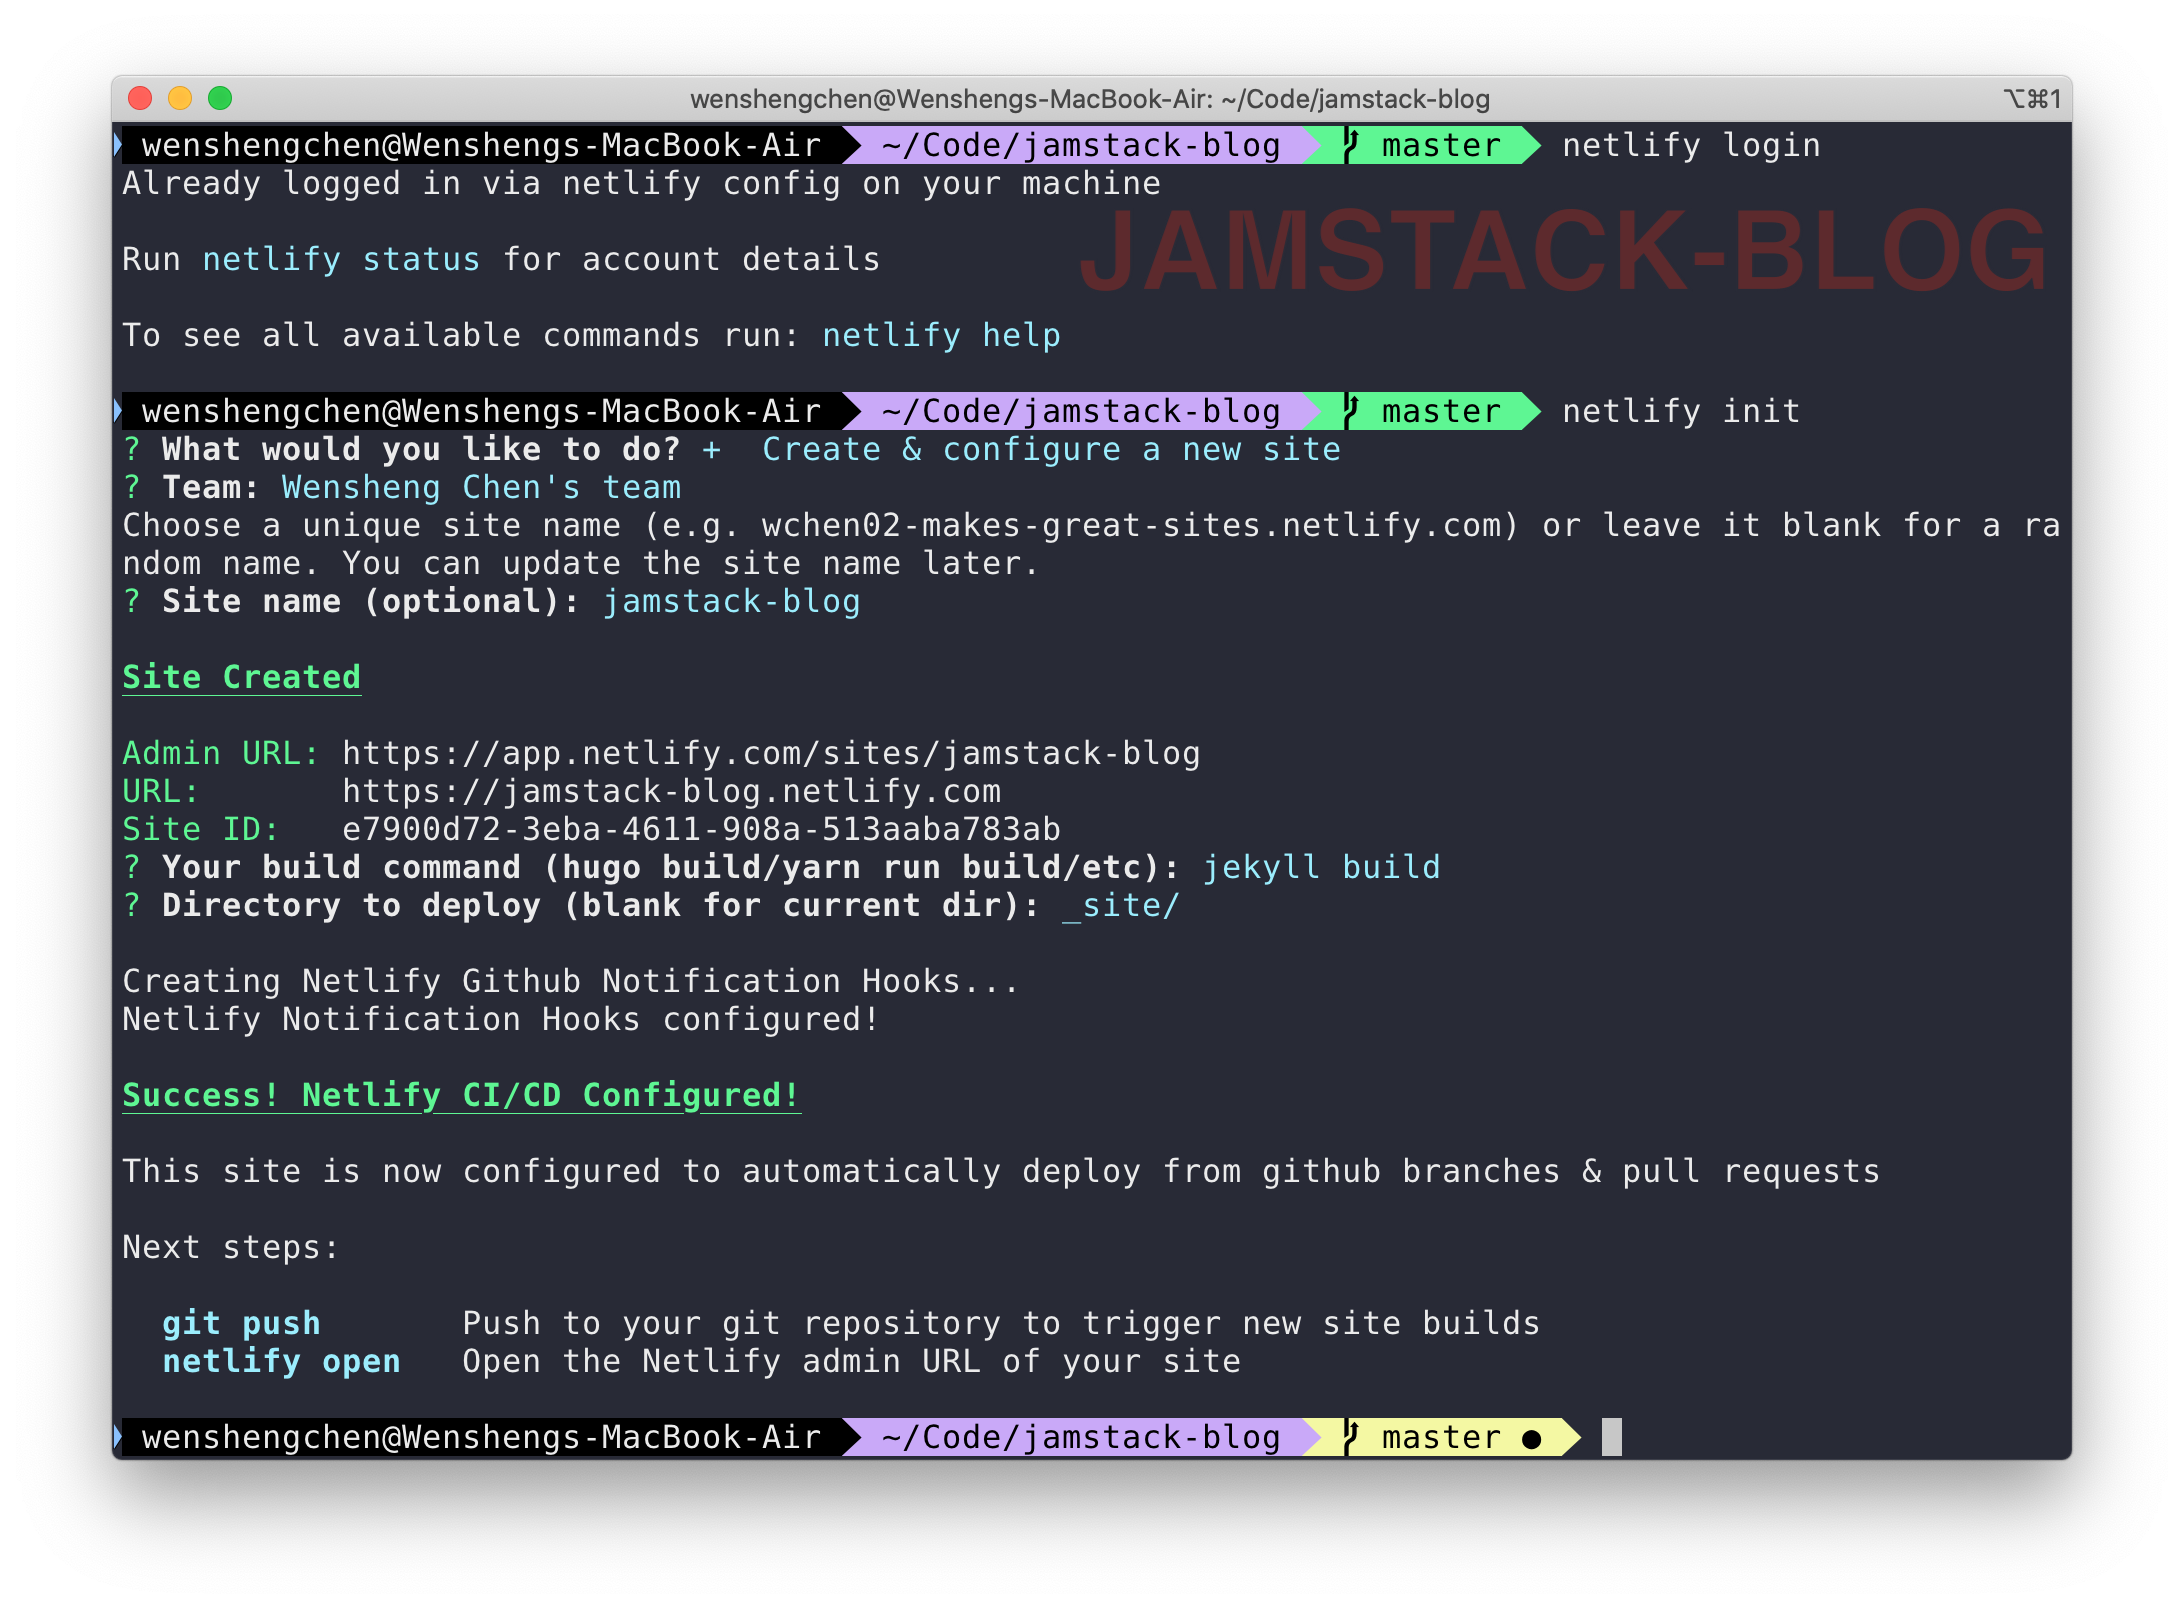
Tada! Your site is live now! Easy peasy. But wait, we’re not done yet. If you visit your Netlify site, you will discover the site does not render correctly. Let’s fix it!
4. Customizing the theme and continuous deployment
The issue we saw earlier was because the site’s URL is incorrect.
Open _config.yml file and update baseurl and url configurations to point to our jamstack-blog Netlify site.
# SITE CONFIGURATION
baseurl: "/"
url: "https://jamstack-blog.netlify.com"
Save the changes, commit and push:
git add _config.yml
git commit -m "fix: Update site url"
git push
If you have been following the tutorial closely, you should know that Netlify is deploying the new change now. Let’s open Netlify admin interface and confirm this:
netlify open:admin
Scroll down to Production deploys or click on Deploys tab, you should see Netlify is preparing for a new deployment. Give it a minute or so for the new build to be deployed.
Once deployed, refresh the page and the blog should be beautifully rendered now.
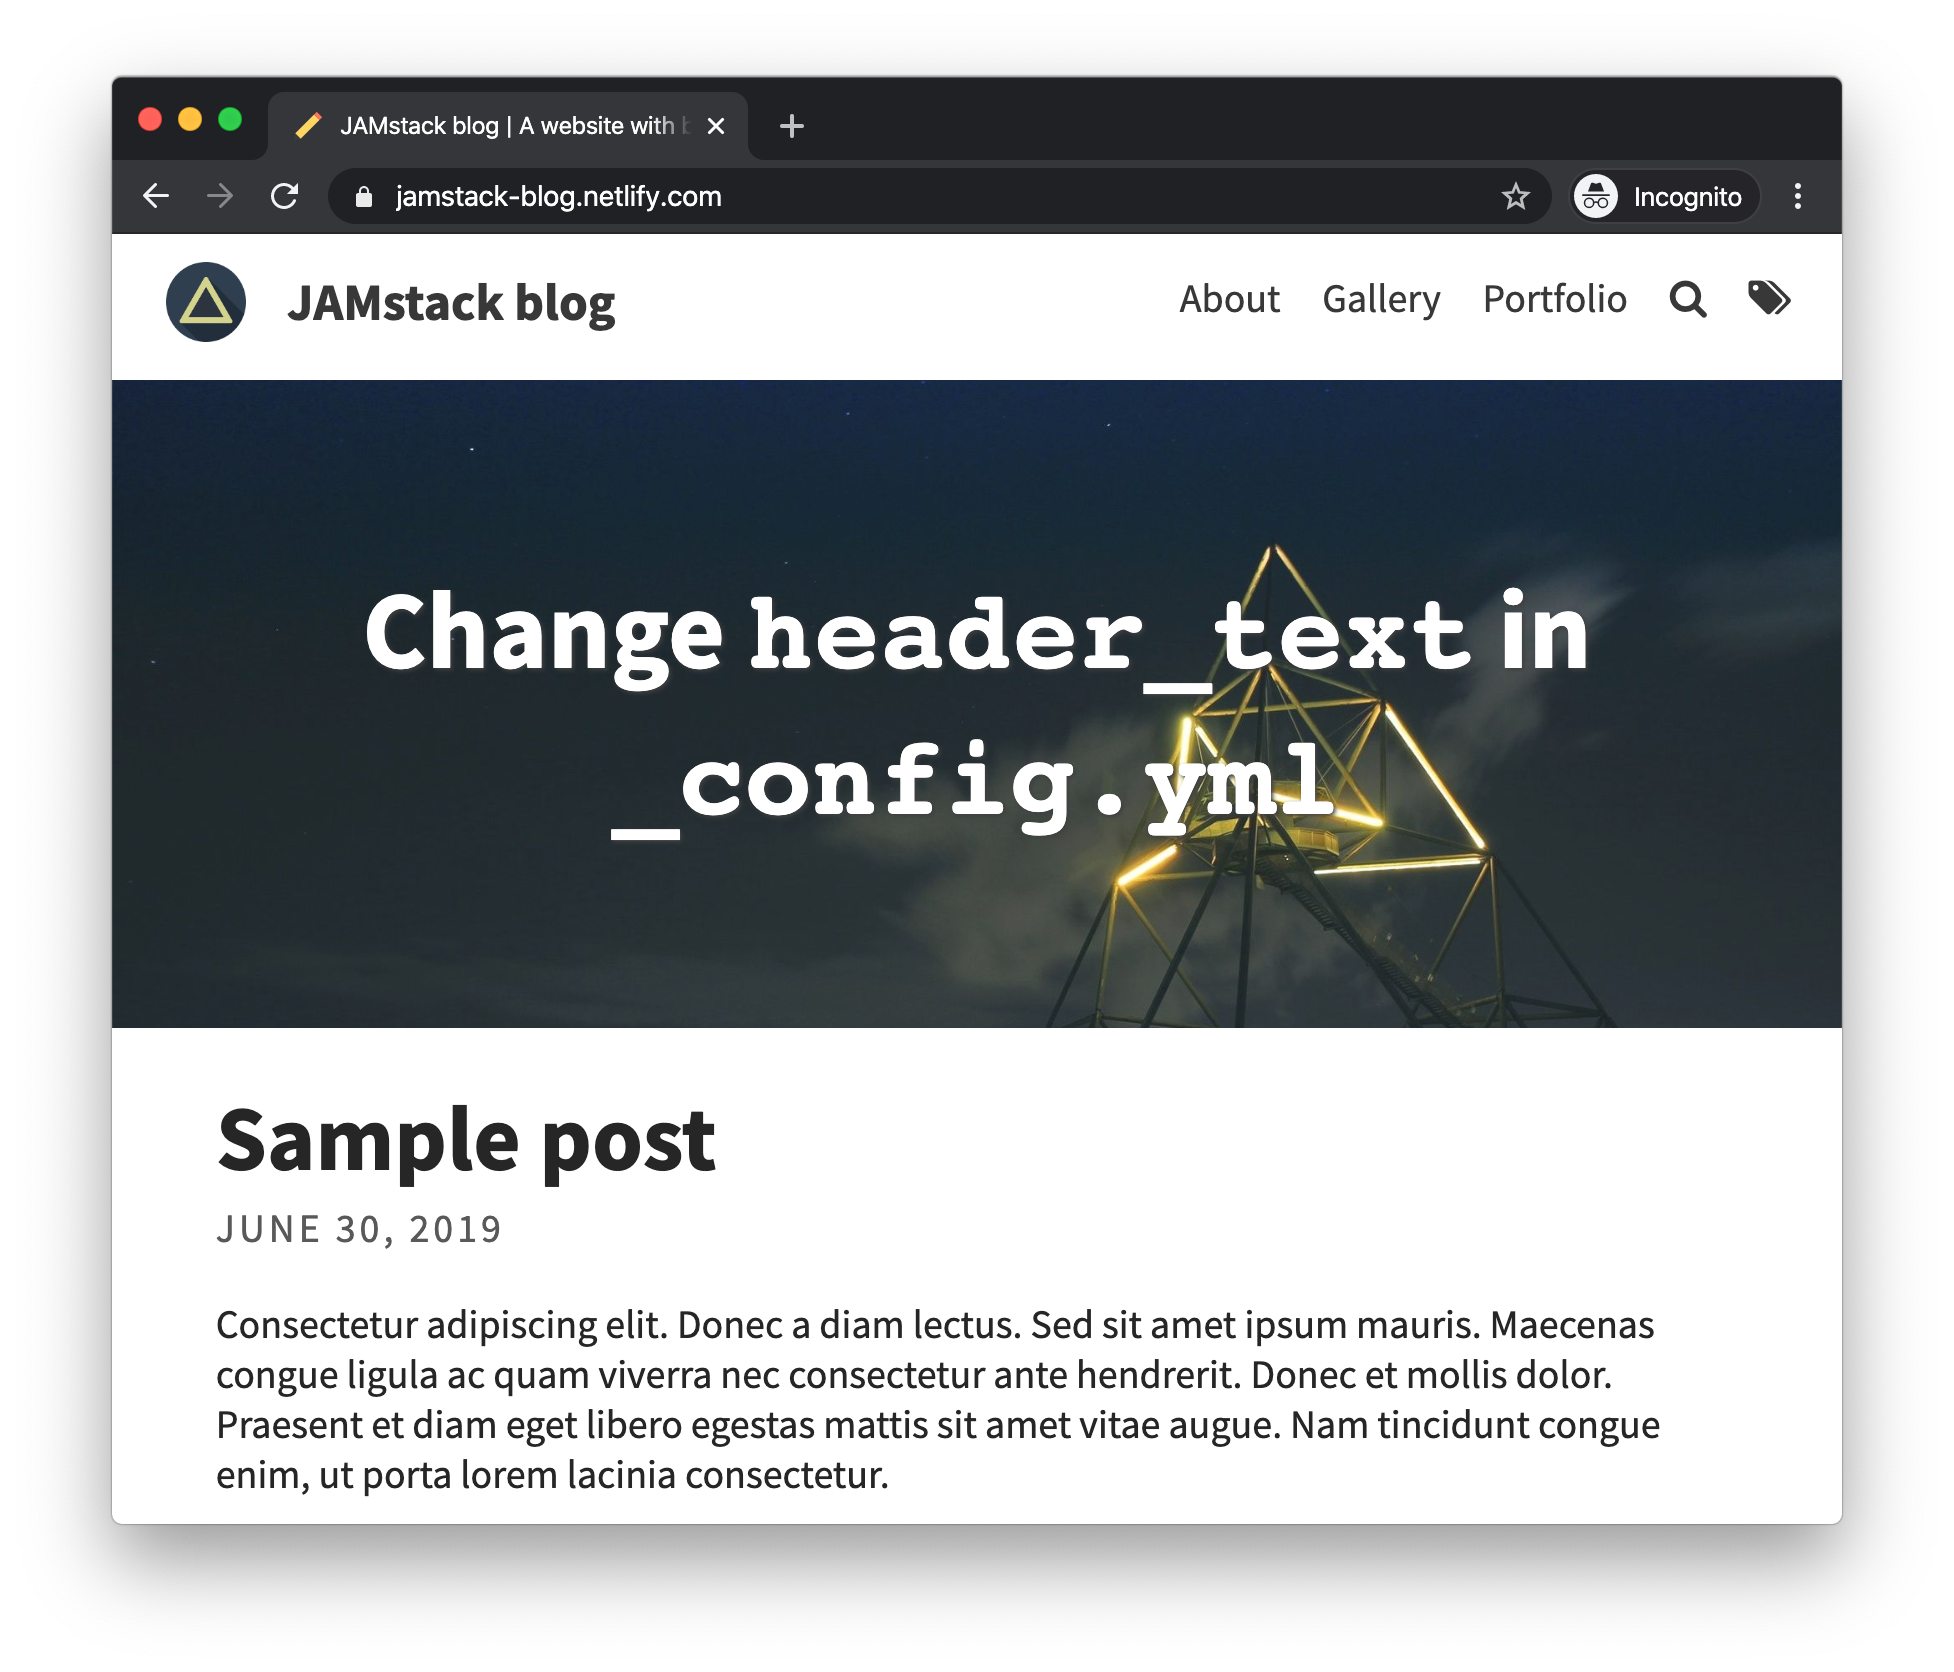
We’re done! You may customize the theme further or play around with the Netlify admin panel.
Let me know how it goes for you or if you encountered any problems in the comment section below.